Drywall Repair Made Easy: A Step-by-Step Guide for Homeowners
AG
Understanding Drywall Repairs
Drywall damage is a common issue faced by many homeowners, whether due to accidental bumps, water damage, or the natural settling of a house. Repairing drywall can seem daunting, but with the right tools and guidance, it becomes a manageable task. This guide will walk you through the steps necessary to tackle drywall repairs with confidence.
Gathering Your Tools and Materials
Before starting any repair work, ensure that you have all the necessary tools and materials at hand. Here's what you'll need:
- Utility knife
- Drywall saw
- Joint compound
- Drywall tape
- Sandpaper or sanding sponge
- Paint and primer
Having these tools ready will streamline the repair process and help you achieve a professional finish.
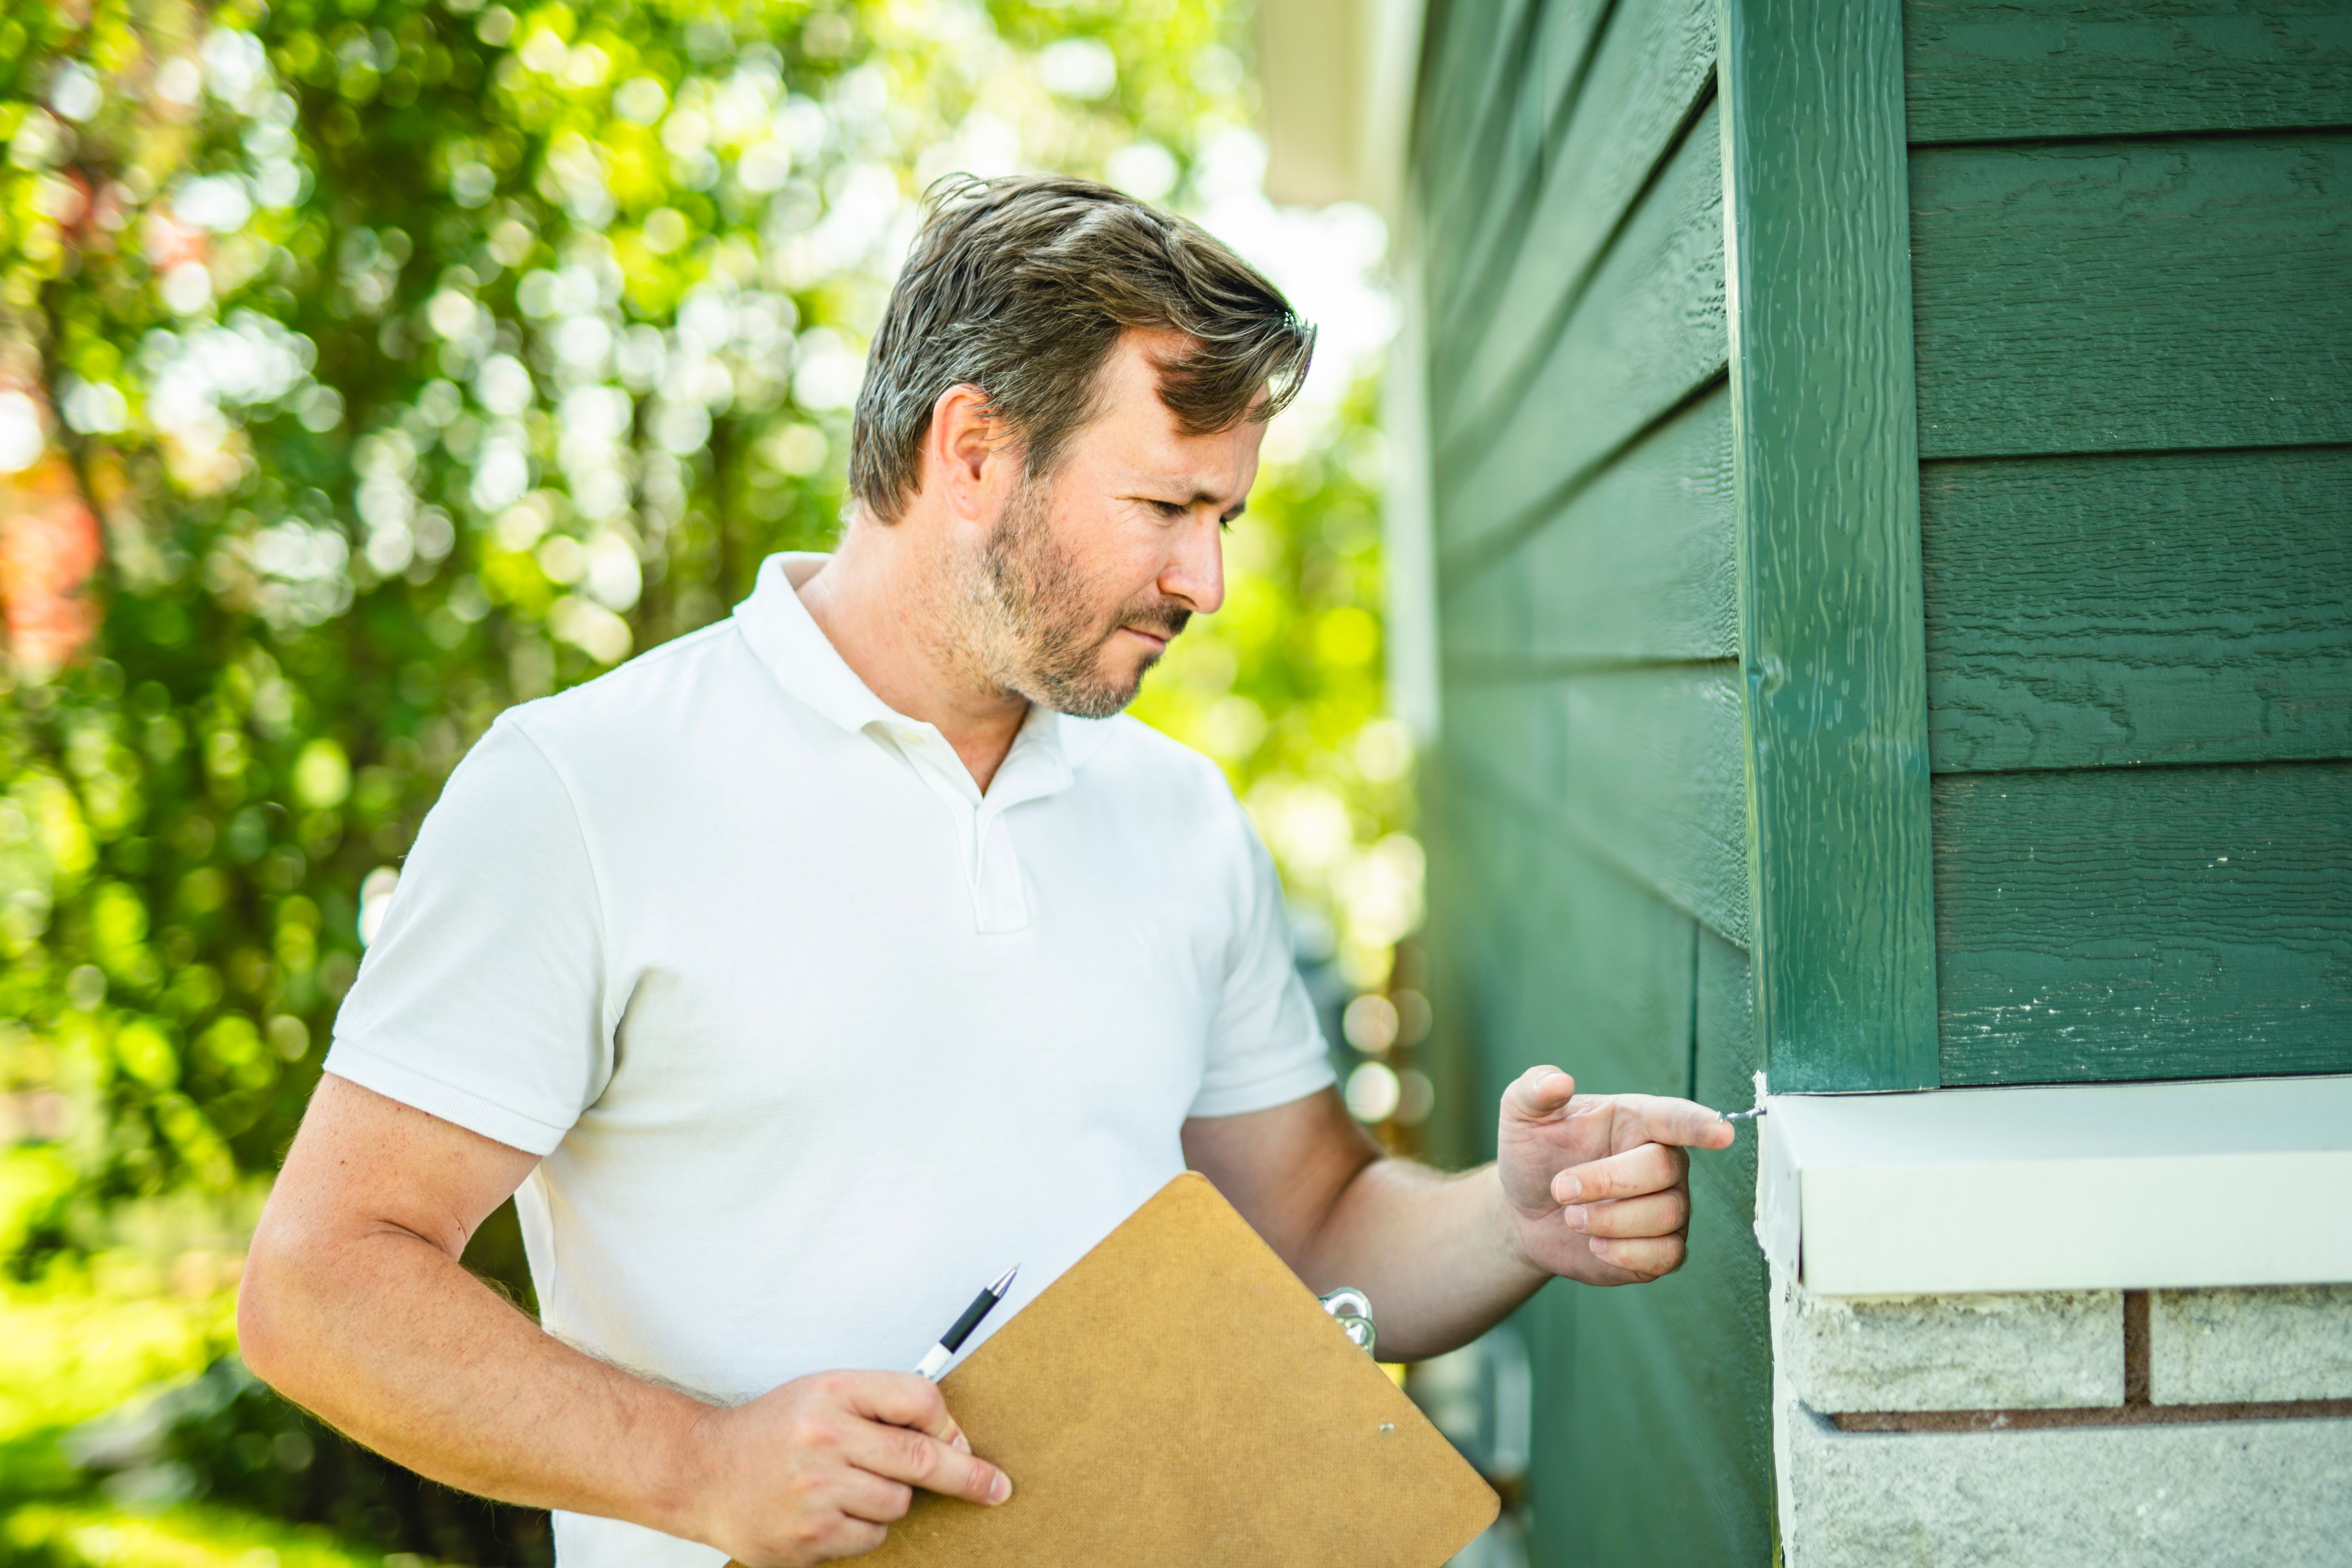
Assessing the Damage
The first step in repairing drywall is to assess the extent of the damage. Small holes or cracks can often be fixed with a simple patching process, while larger areas may require more extensive work. Take note of any underlying issues, such as water leaks, that may need to be addressed before proceeding with the repair.
Step-by-Step Repair Process
Repairing Small Holes and Cracks
For minor damage, such as small holes or cracks, follow these steps:
- Use a utility knife to clean up the edges of the hole or crack.
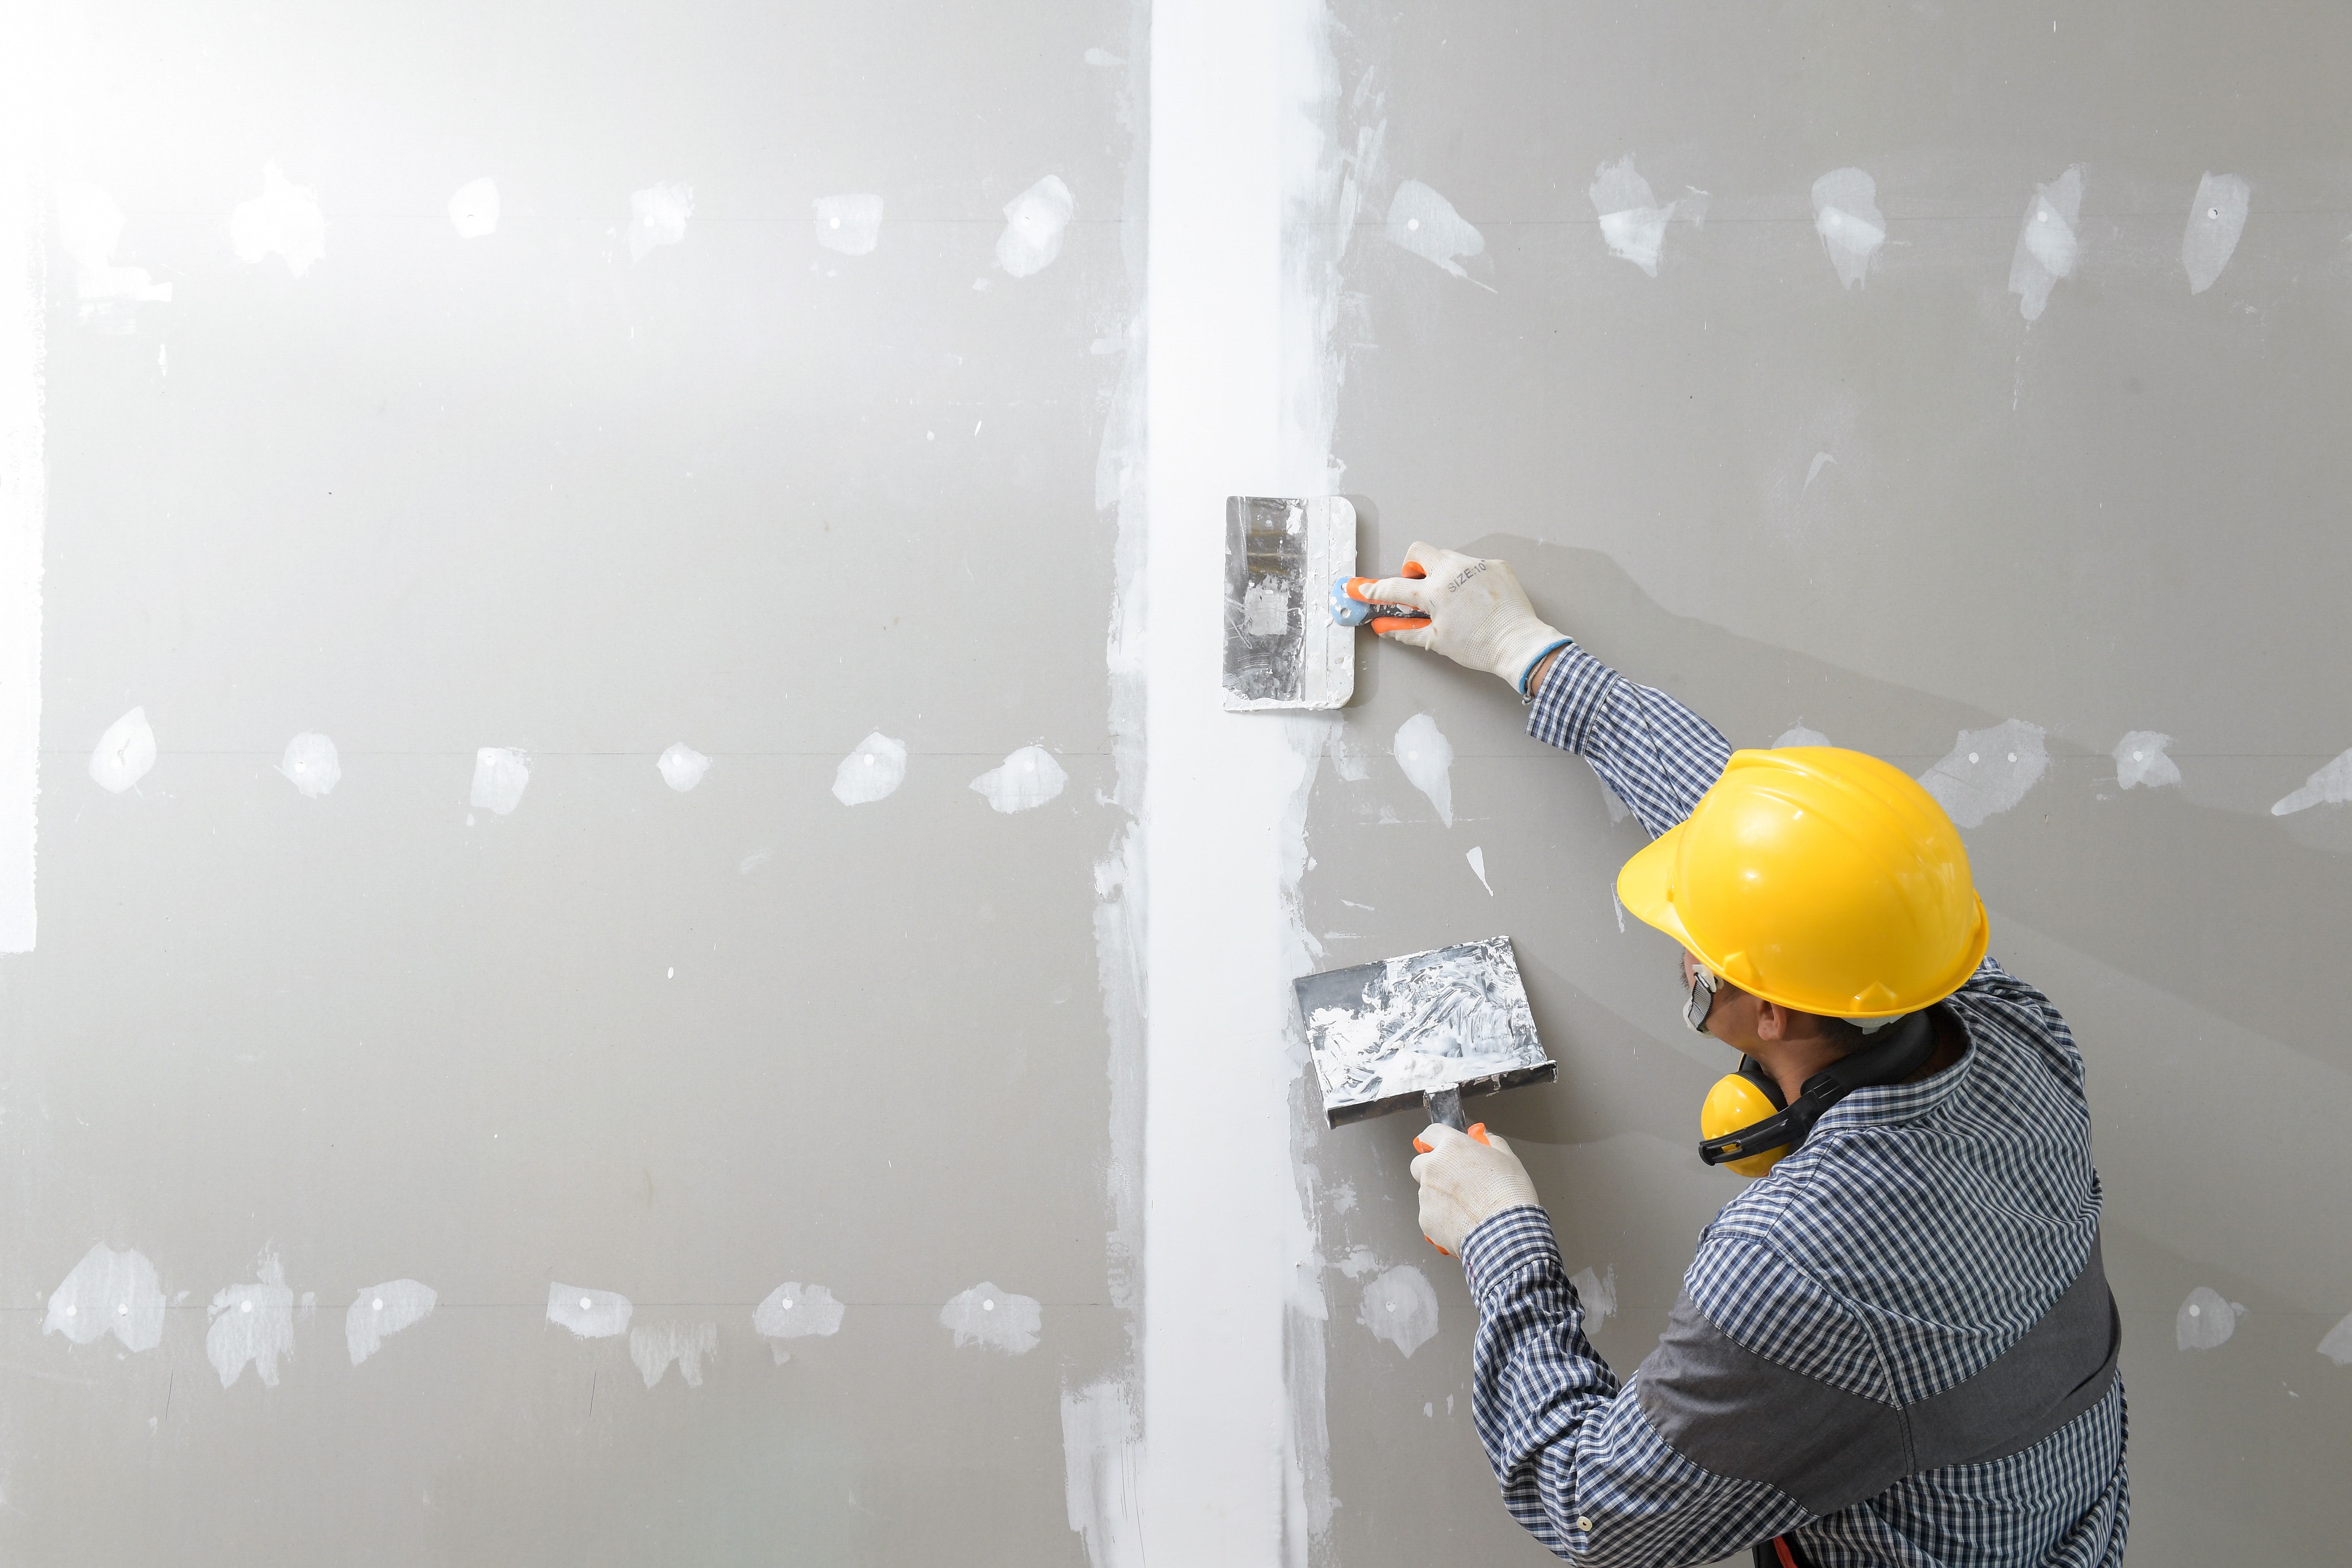
- Apply a layer of joint compound over the area.
- Place drywall tape over the joint compound to reinforce the repair.
- Smooth out the tape with additional joint compound, feathering the edges.
- Allow it to dry completely before sanding it smooth.
Repairing Large Holes
Larger holes require a different approach:
- Cut a square around the damaged area with a drywall saw.
- Cut a new piece of drywall to fit the hole snugly.
- Screw the new drywall piece into place using drywall screws.
- Apply joint compound over the seams and cover with drywall tape.
- Smooth out with more joint compound and let it dry before sanding.
Finishing Touches
Sanding and Painting
Once the joint compound is fully dry, use sandpaper or a sanding sponge to smooth out any imperfections. Be sure to wear a mask during this step to avoid inhaling dust. After sanding, wipe down the area with a damp cloth to remove any residual dust.
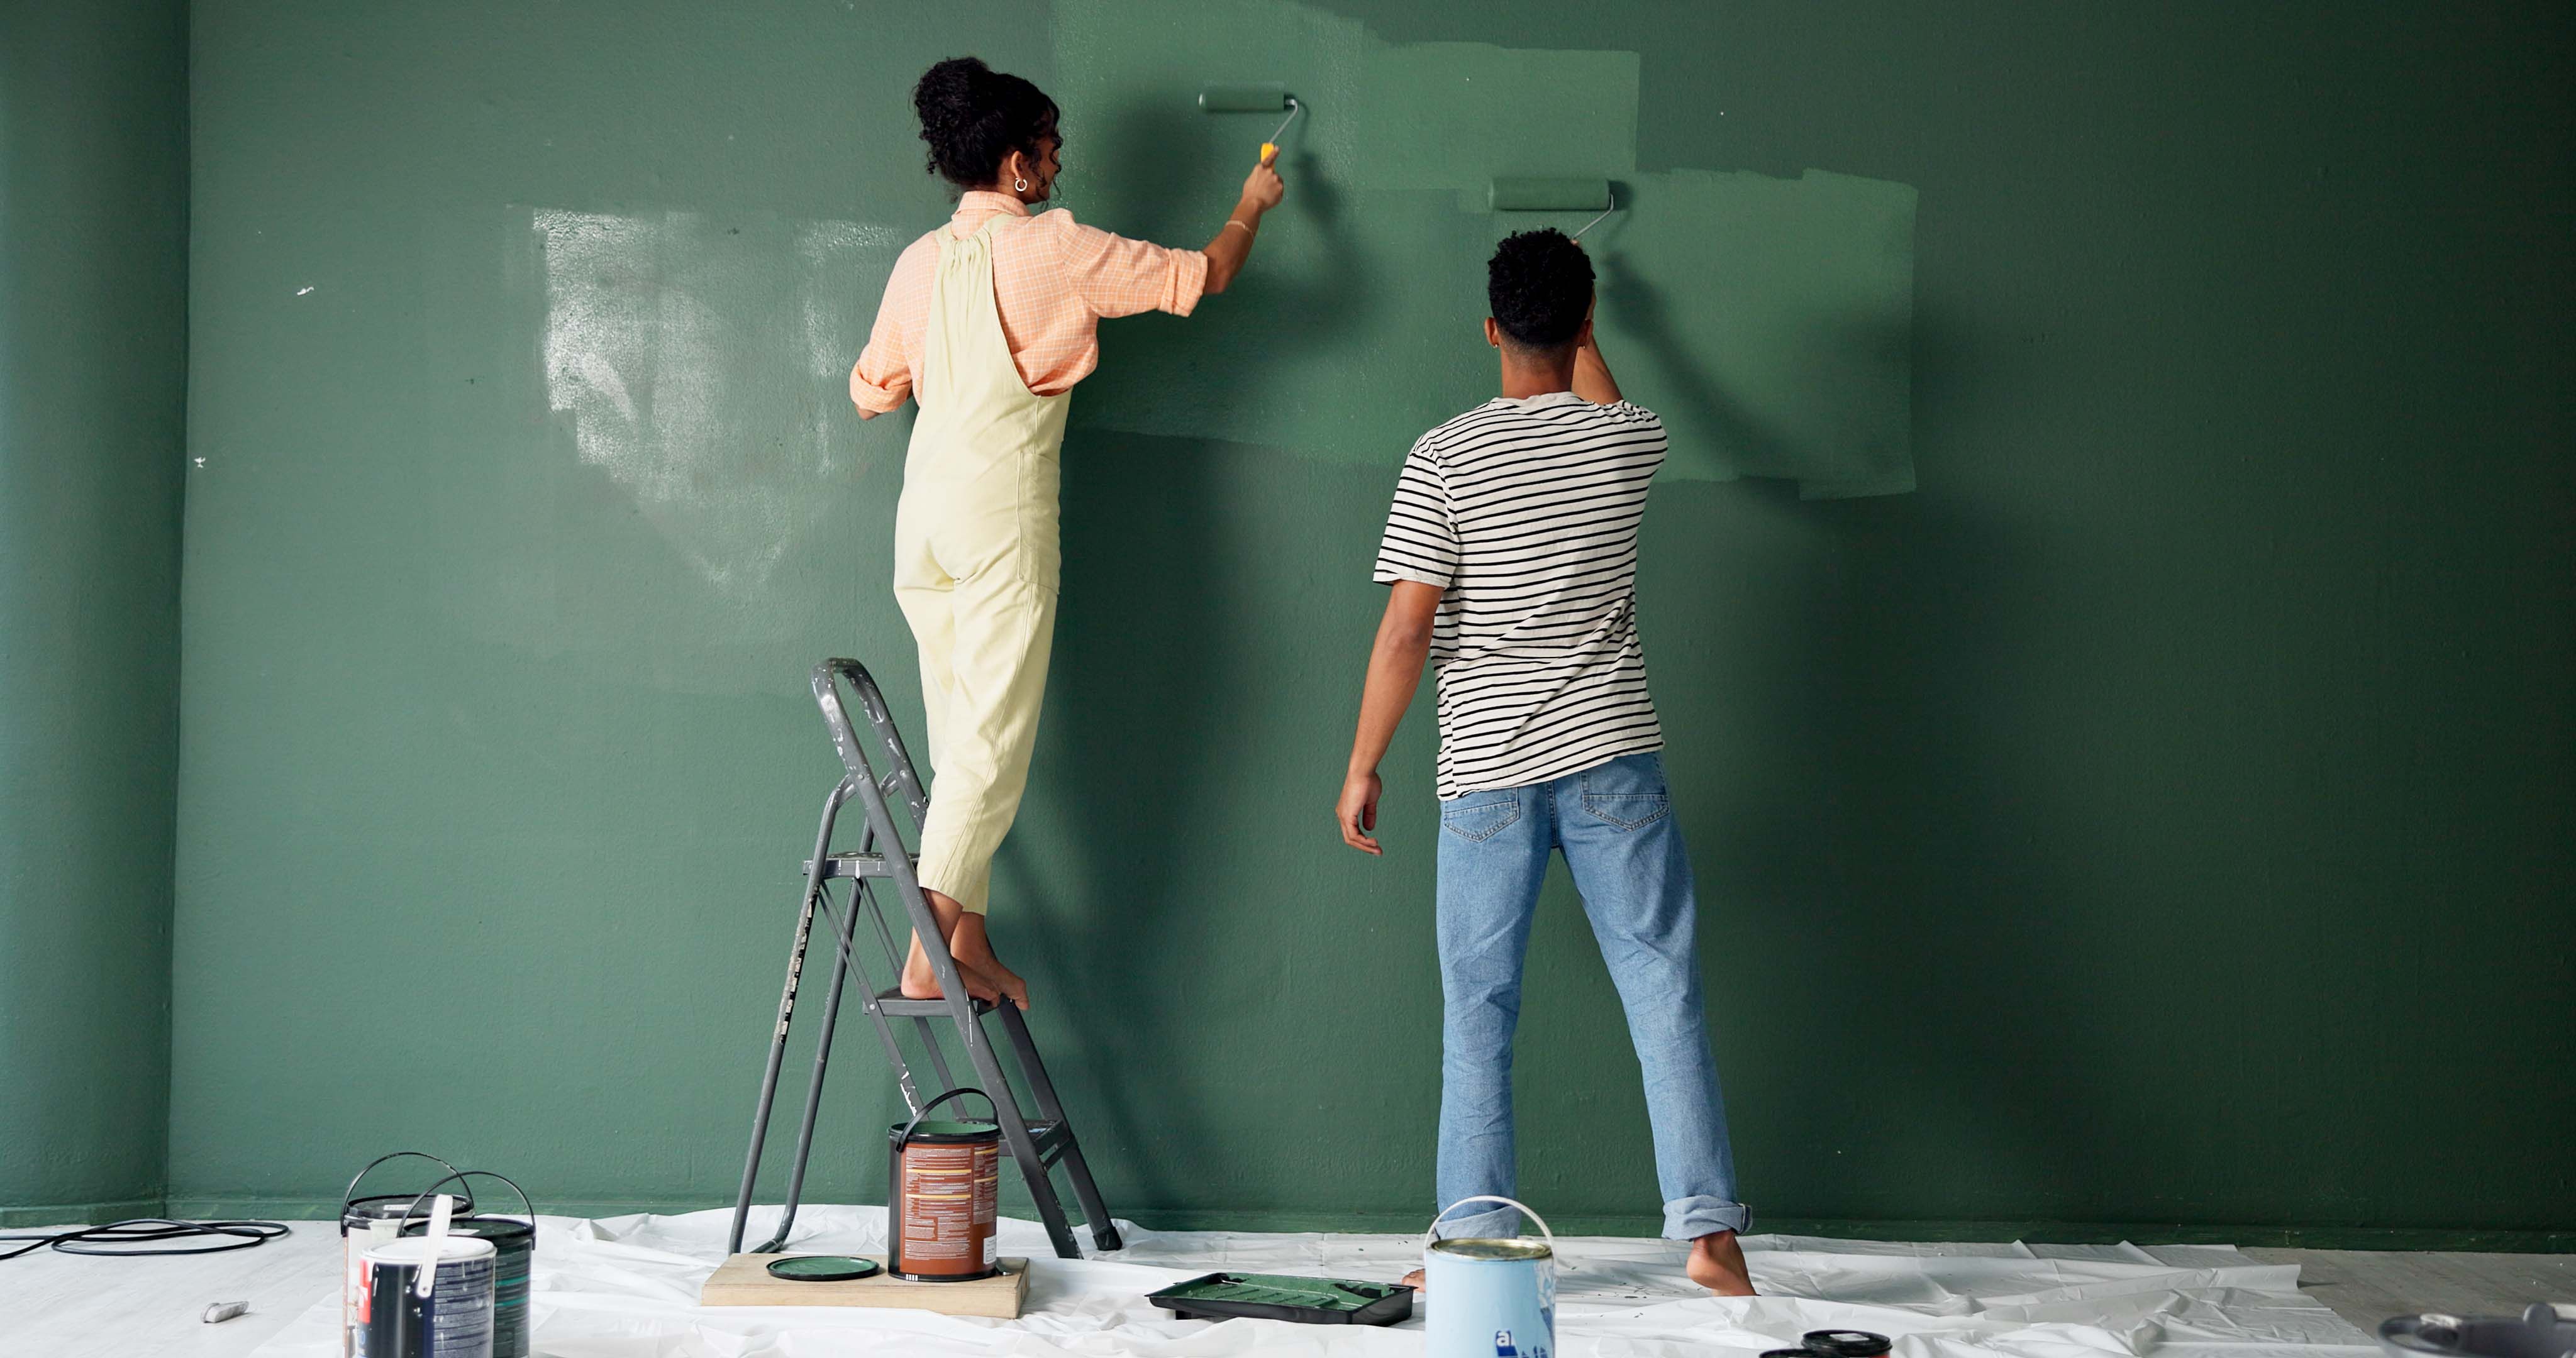
Applying Primer and Paint
The final step is to apply primer to the repaired area to seal the surface and prepare it for painting. Once the primer is dry, paint over the area to match the existing wall color. Applying multiple thin coats may provide a more seamless finish.
By following this step-by-step guide, homeowners can efficiently manage drywall repairs themselves and maintain their home's pristine condition. With practice, you'll find that drywall repair is not only easy but also a cost-effective solution for keeping your walls in top shape.